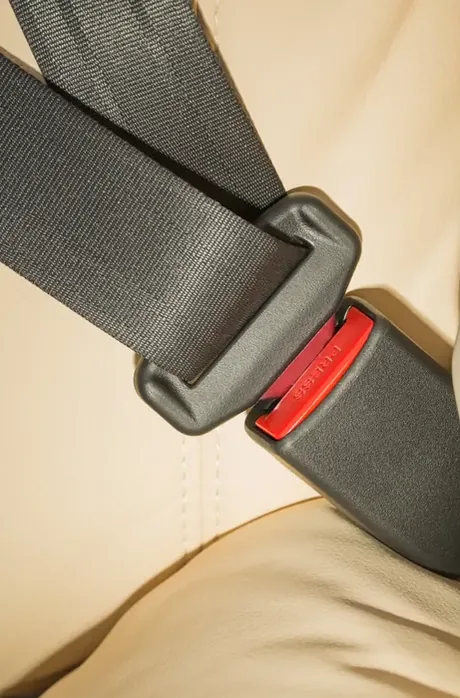
Seat belts are not a one-size product. This guide walks through how a requirement is
worked out — what to look at, what to measure, and what to have ready before you send an
enquiry.
Step 01
Understanding your requirement
Almost every seat belt enquiry starts in one of three places: something has broken,
something is missing, or something is being fitted. Naming which one you are in
changes everything that follows.
If something has broken, the useful detail is how it broke — the belt will
not extend, will not retract, will not click in, or will not release. Each of those
points at a different part of the assembly.
If something is missing, the question becomes what the rest of the assembly looks
like, because the missing part has to match it. If something is being fitted where
there was nothing before, the anchorage points available in the vehicle become the
first thing to establish.
Describe the symptom, not the diagnosis
"The belt will not pull out" is more useful than "the retractor has failed". The
first is something you have observed; the second is a conclusion that may or may
not hold. Give us the observation and we will work back from it.
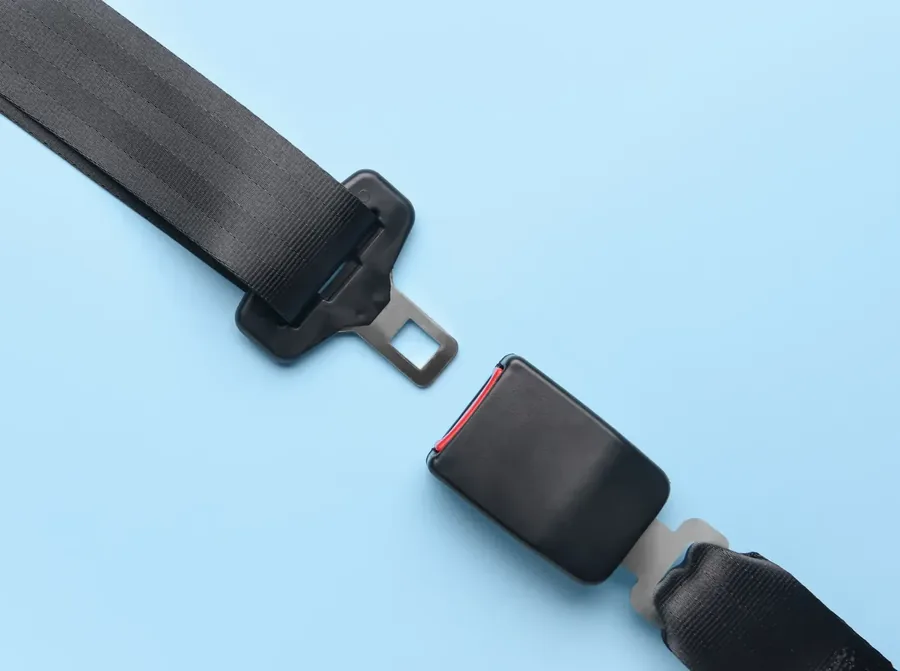
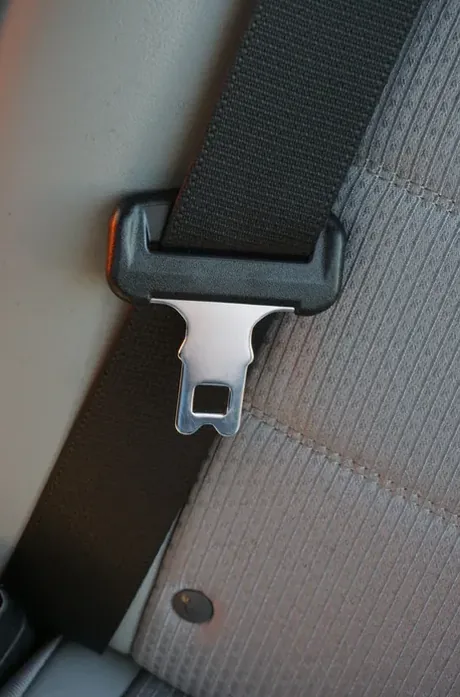
Webbing and latch plate — the parts most people can see and photograph
Step 02
Identifying the vehicle application
A seat belt is matched to a vehicle and a seating position, not to a category alone.
The details below do most of the narrowing.
Make, model and model yearModel year matters as much as the model name. Vehicles are frequently revised mid-life, including in how belts are mounted.
Body typeA hatchback, sedan and estate version of the same model can differ in rear belt arrangement.
Seating positionFront or rear, driver or passenger side, outboard or centre. Say precisely which seat.
Belt type at that positionThree-point with a shoulder strap, or lap only across the hips.
Mounting arrangementWhether the belt and buckle anchor to the seat frame, the floor, the pillar, or a mix.
If you have the registration or VIN to hand, include it — it removes most ambiguity in
one line.
Step 03
Replacement considerations
Replacement is the most common requirement we handle. It is also the one where a
little care up front saves the most time.
Photograph the assembly before anything is removed — in place, with the mounting points visible.
Note any codes moulded or stamped into the webbing label, latch plate or buckle housing.
Check whether neighbouring parts are worn too, so one replacement does not become three.
Where a vehicle has been involved in an incident, have the whole restraint system assessed rather than replacing a single visible part.
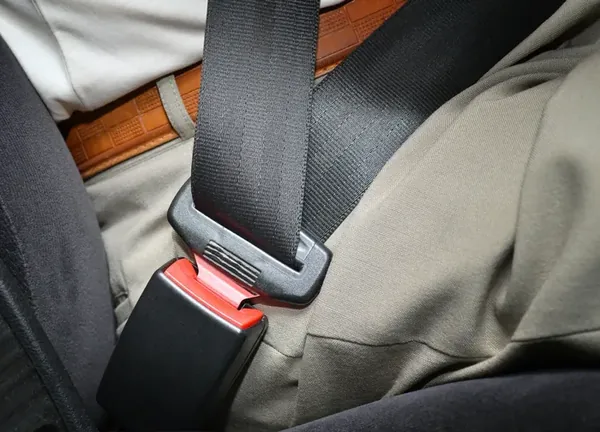
The lap section and buckle — worth photographing from directly above
Step 04
Product compatibility
Two parts that look alike are not necessarily interchangeable. Compatibility in a seat
belt assembly runs across several dimensions at once.
Mechanical fitDoes the latch plate seat correctly in the buckle, and does the mounting hardware match the anchor point?
GeometryIs the webbing the right length, and does the belt route correctly across the occupant from the available anchors?
FunctionDoes the retractor operate as it should in the orientation it will be mounted in?
SpaceDoes the assembly fit within the trim and seat structure once refitted?
A part that fits is not automatically a part that suits
Physical fit is the first test, not the last. A belt that bolts up but routes
incorrectly across the occupant, or a retractor mounted at the wrong angle, has not
solved the problem. This is why the final check belongs with the vehicle.
Step 05
Information to keep ready before enquiring
You do not need all of this to get started — but the more of it you can include, the
fewer rounds of questions it takes.
Vehicle make, model, model year and body type
Registration or VIN, if available
The seating position the belt serves
Belt type — three-point or lap; retracting or fixed
Which part is affected, and the symptom you have observed
Photographs of the assembly and its mounting points
Any markings or codes on the parts
Quantity required
A clear, well-lit photograph of the belt in place answers most questions
Step 06
Quantity and bulk requirements
Whether you need one belt or a set across several vehicles changes how an enquiry is
handled, so it is worth saying at the outset.
Single-seat requirementsOne position in one vehicle. The fastest to resolve, and the easiest to confirm from photographs.
Full vehicle setsEvery position in one vehicle. Remember that front and rear positions may not take the same assembly.
Multi-vehicle and fleetSend a list of vehicles with makes, models and years, plus the quantity needed per vehicle.
Repeat requirementsOnce a match has been established for a given vehicle, subsequent orders for the same specification are far quicker.
Step 07
Why suitability must be checked
A seat belt is part of a vehicle's occupant restraint system. Everything on this
page is intended to help you describe a requirement accurately — it is not a
substitute for confirming, against the actual vehicle, that a given product is
right for it.
That final check should be made with the vehicle in front of you and, where
relevant, by a qualified technician. We will tell you plainly which points still
need confirming rather than presenting an assumption as a certainty.
For the same reason, this guide does not include fitting or installation
instructions. Fitting a restraint component is work for someone qualified to do
it, with the correct hardware and torque figures for that vehicle.
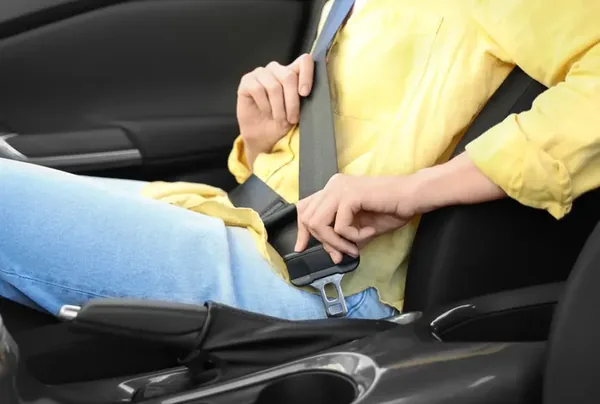
Routine checks of webbing and buckle condition are worth building into servicing
Safety note
Seat belts and their components are safety-related parts. If a belt shows cuts,
fraying, chemical damage, or has been loaded in a collision, have the assembly
assessed by a qualified technician rather than continuing to rely on it.
Ready when you are
Got the details together?
Send what you have — even a partial description with a photograph is enough to start.